A long time ago when I first discovered papercutting, I loved to create designs that were mirror images, symmetrical, the same on both sides – whatever you want to call it.
There are challenges in designing for a symmetrical cut. Like all paper cuts everything has to connect in some way, but it also has to meet in the middle in such a way that it looks nice once you open the cut design. It’s a happy surprise when you upon it up and it’s even better than you thought it was going to be.
The butterfly template that I sell in my shop is one of these designs.
It can be cut either of two ways.
1- As a flat cut so you lay the paper flat and cut each side.
Cutting it flat is a bit easier because you are only cutting through one layer of paper. If you’re opting to cut a heavier weight paper this would be the best option.
or
2- As a folded cut so you fold the paper in half and cut both sides at the same time.
Folding and then cutting works well with light weight paper and takes a whole lot less time. (by folding it in half, I can cut the butterfly design in about an hour. A quick, low cost and easy gift!)
Here’s how to do it:
What you’ll need:
A very sharp craft or x-acto knife.
Your printed design – you can get the butterflies here. Or create your own!
A cutting matte. Your table top will thank you.
A stapler. With staples.
The following items may or may not be considered optional:
Tiny little scissors
A beverage, your favorite music or a movie and some chocolate (This design was cut while drinking an iced coffee and catching up on Game of Thrones)
1 – Print out the template design.
In the photos I am using a good quality bond paper. White HP laser printer paper. I like the weight of it, it’s a nice bright white and not flimsy feeling. You can use a pastel or light colored paper of your choice.
2 – Trim off some of the excess paper from around the outside. Don’t cut really close, but get rid of all that extra paper that’s just going to be in your way.
3 – Fold the design in half along the guide line down the middle.
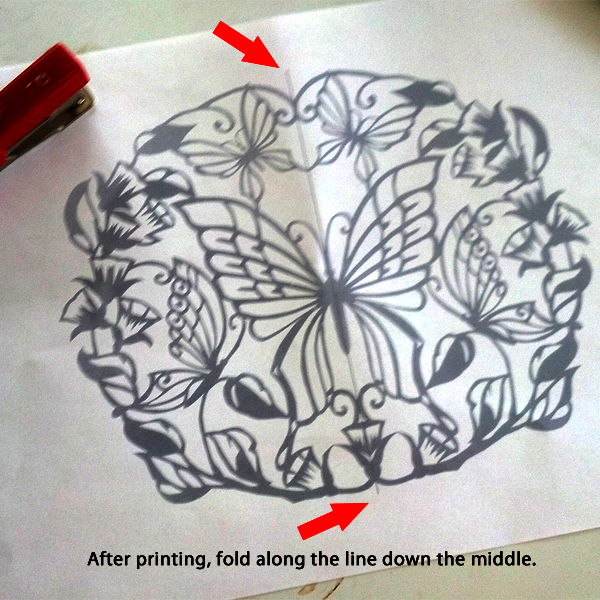
4 – Staple the paper in a few open areas so that it stays put and doesn’t slide around while you are cutting.

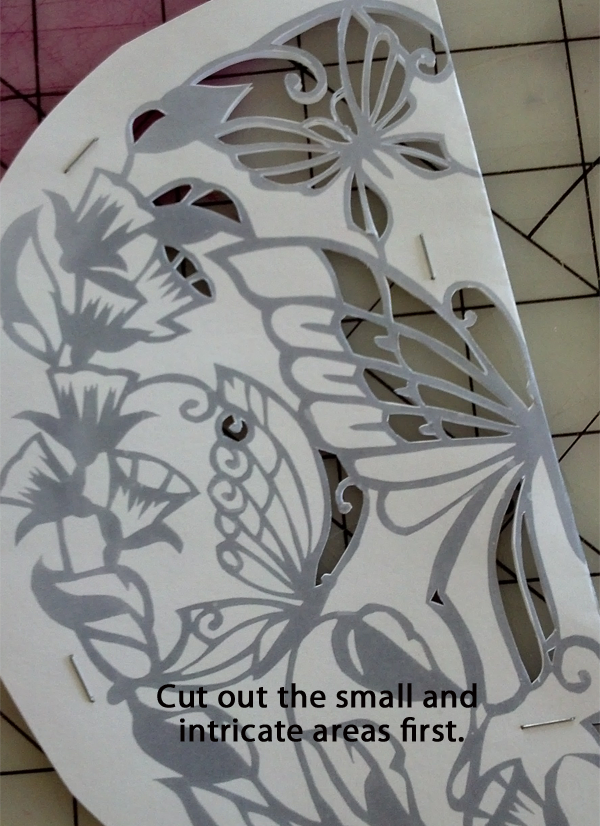
5 – Cut with your very very very sharp knife. Make sure that you are cutting through both layers of paper. I always cut from the center outwards starting with the small intricate areas first.
Leave the stapled areas till last.
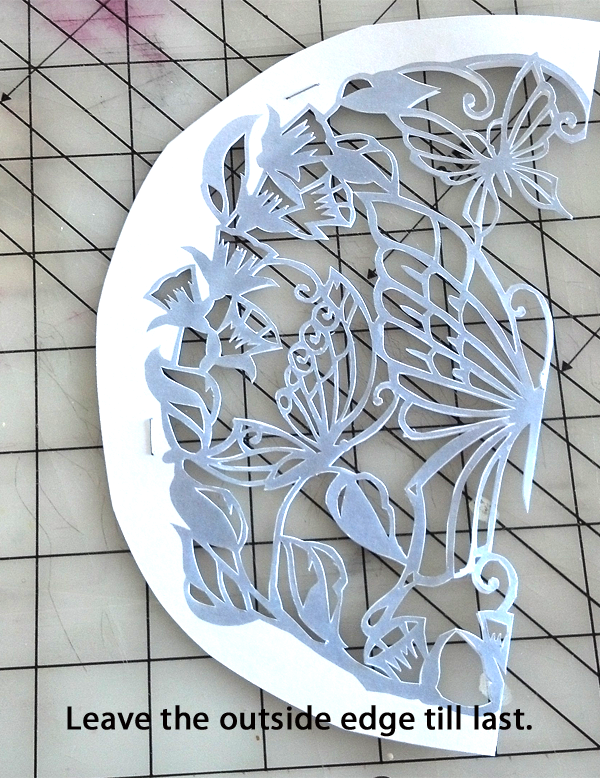
6 – If you have tiny scissors you can use them to cut away the outside edge otherwise use your knife being careful not to let the paper slip since you no longer have the staples to hold it together.
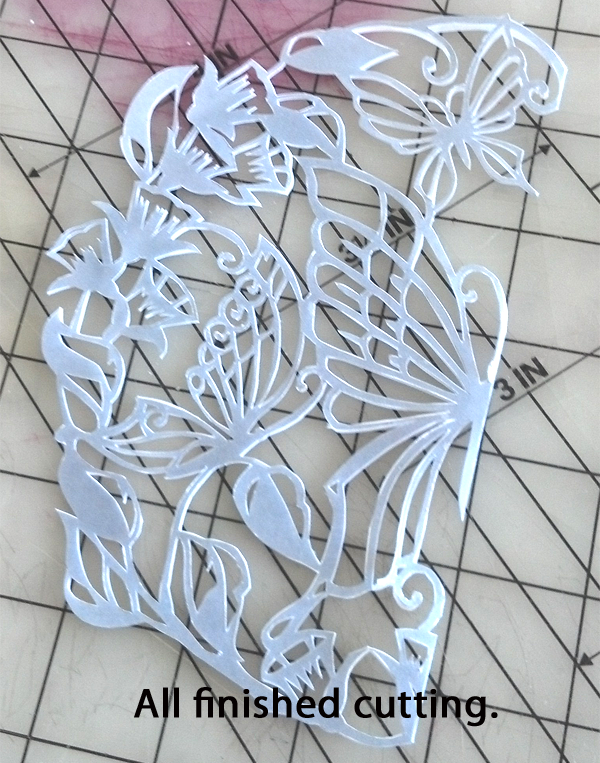
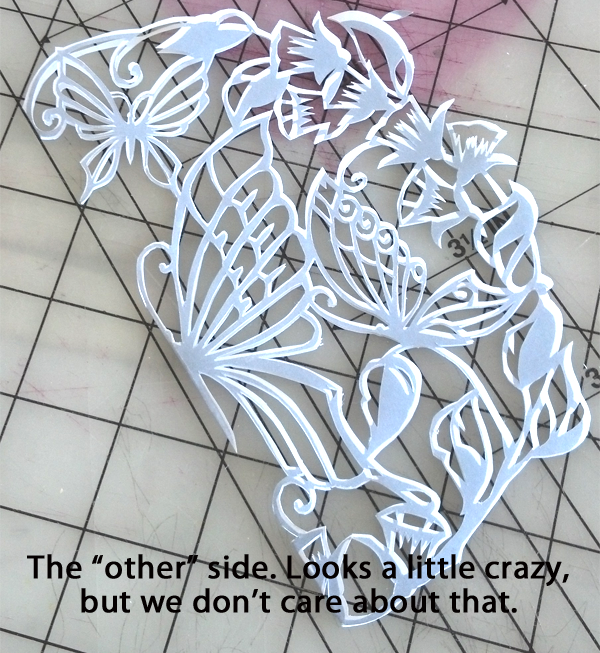
Note: If you look at the other side, you’ll see that not everything has lined up perfectly. Doesn’t matter.
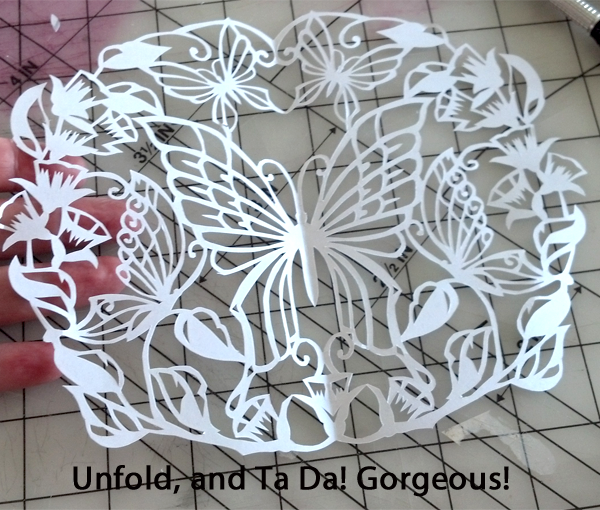
7 – Carefully open the finished cut and press it flat with your fingers. It’s beautiful!
8 – This is also optional, but I always use an iron and iron that sucker flat. (yes, the one you press your pants with. In fact this is the only reason I own an iron) It makes the crease down the middle almost invisable.
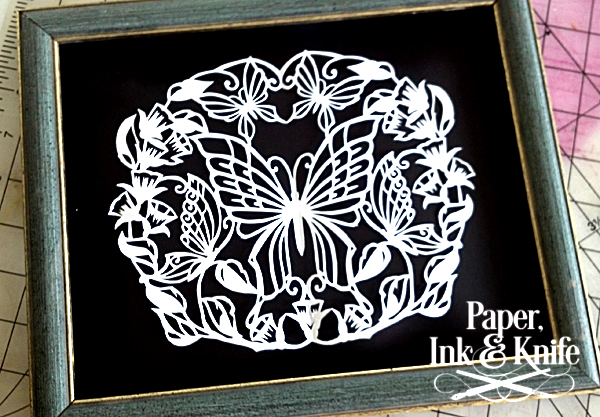
Now put it in a frame and show it to your friends and allow them to marvel at your amazing skills.
Make another one for yourself because your best friend took that first one.


0 Comments