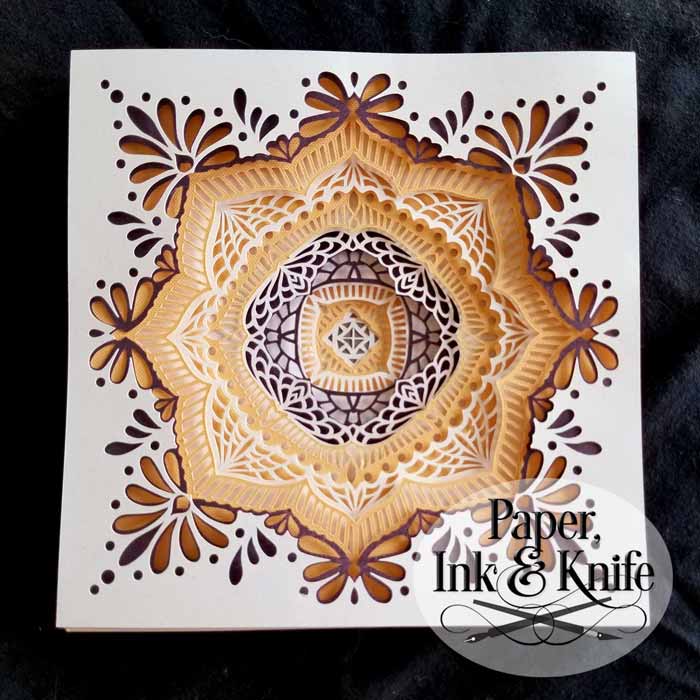
Shadowboxes! They are gorgeous and look like a million bucks and a million hours spent.
In fact they are quick and easy to make if you know what to use. I’ve been making these for a while and after much experimenting (and hair pulling) this list of papers and settings is what I stick with.
I test all of my templates personally. If the template comes with SVG and other machine cutting files I have cut it myself on my Cricut to make sure it will cut well for you.
I’m sharing with you here the papers and cut settings that I use on my Cricut Maker to get great results almost every time. (Almost… because sometimes the paper cutting odds are not in our favor.)
Keep in mind the list below are the things that I use. Your machine and the items you like to use may be different. This is just to give you a point of reference and to assure you that my intricate boxes and ornaments can be cut with a craft machine. (I promise… if you can’t get a good cut… it’s not the file. It’s either your machine settings, your mat or your paper.)
Machine I use for cutting:
Cricut Maker. She’s a sexy beast.
Fine Point Blade. (I replaced the fine point blade after 6 months of heavy papercutting use. After another year I replaced the blade again. They last a long time. I only use it for cutting paper.)
I started with an Explore Air 1 and had great results as well using equivalent settings.
MATS
Blue or Green mat, made by Cricut – Brand new Blue is the best, but Green is good too.
I use mostly green because Cricut sells them in a big pack of 30 12 x 12 mats – that makes them super cheap.
When using a new green mat, I remove the paper by turning it paper down and rolling the mat away from the paper. It doesn’t take long before it’s not so sticky. (Light weight paper may not work well on the green mat.)
If the mat is not sticky enough small intricate cuts will shred. The paper lifts off the mat and tears. Swearing ensues.
I have used some generic green mats from Amazon and they work okay, but I noticed that the ones I tried leave a little bit of stickiness on the back of the cardstock when you remove it, so the little bits stick to my hands. No big deal, but it’s annoying. I don’t think they stay sticky as long as the Cricut brand.
I wash my mats when they start to look a little grubby.
I prefer to use a non alcohol wipe. It’s dries fast so I can get on with things. I don’t wait until they are super dirty. Clean them when you notice the edges of your paper aren’t sticking.
I have also cleaned with dish soap and water when they get too unsticky. Do not scrub. Scrubbing too hard will take the adhesive off. Rub them gently then leave to dry. A hair dryer will speed things up.
Either method works to extend the mat life, but they will not be as sticky as new. (People brag about how they have mats that come back good as new. They are lying.)
Stick your paper down!!!!!!
Seriously. This will change your life if you aren’t doing this.
I use a vinyl application squeegee to rub the whole surface of the paper onto the mat. Squeegee on Amazon, so you can see what it is.
Some use a brayer to do the same thing. Brayer on Amazon
Some use the Cricut scraping tool. It’s better than nothing, but too sharp for me.
Some people use just their hands. These people will have problems with paper lifting.
PAPERS I USE
65lb solid core cardstock.
Recollections Cardstock from Michaels is always good. So many colors and they have sales all of the time.
The foil is beautiful and cuts well. If you haven’t tried the iridescent foil, you are missing out.
JoAnn sells a good quality 65lb cardstock as well.
Amazon! Neenah brand is good. 65lb and packs of 250 sheets.
Use solid core cardstock. If the paper has color on each side with white in between, it will make you sad.
The paper needs to be non-fibrous and have a sort of crispness about it. Construction paper doesn’t work.
If you are using cardstock that leaves dusty bits of stuff on the mat and shreds when attempting small cuts – that’s the stuff that doesn’t work well. It’s a bummer.
Neenah Astrobrights 65lb cardstock from Amazon. It’s the bees knees. 250 sheets 8.5 x 11 lots of colors.
Springhill 65lb cardstock from Amazon. Also the bees knees. 250 sheets 8.5 x 11 beautiful pastel colors.
Textured papers: I mostly stay away from these except for larger less intricate layers.
Cricut paper is good. Has a texture, but not too much.
If you are using a textured paper, try putting the texture side down so you are cutting from the smooth side. (Don’t forget to mirror)
Glitter paper: It’s messy. It’s beautiful. I don’t use it a lot, but have had good results using the Michaels cardstock.
Cut with the glitter side up and gently lift to make sure it’s cut all the way through before removing the mat from the machine. If you need to recut, push the cut button again without removing the mat.
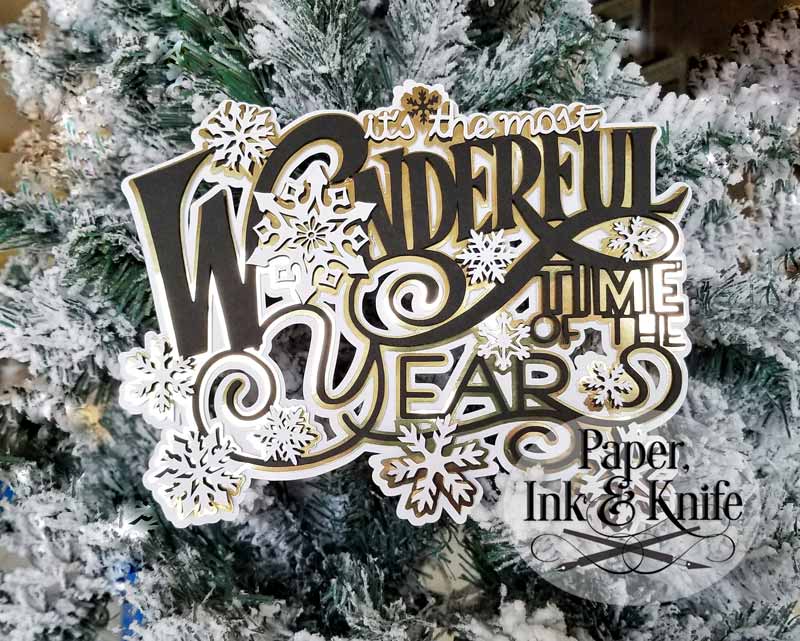
Cut from Recollections black, gold foil and Neenah white paper.
It’s a freebie you can download here Most Wonderful Time
Neenah 67lb Exact Vellum – white
I buy the 11 x 17 size, but it’s also available 8.5 x 11
I buy it from Amazon here: NeeNah Paper
This is my go-to paper for a lot of things. Works well for hand cutting. I use it to print coloring pages too. Takes colored pencil like a boss and it’s fairly inexpensive.
Used for this Heart Shadowbox Template.

MACHINE SETTINGS
So important as we all know.
As I stated above – I use a Cricut Maker. Use this as a reference starting point for the machine you are using.
I started out using a Cricut Explore Air and used the light cardstock setting with that too.
I use the Cardstock for Intricate cuts setting and it’s perfect for most of the papers I use. It automatically cuts twice, but not too deep, so most of the time it cuts just right no matter what color I am using of the 65lb cardstock. I use this setting for glitter too. Sometimes have to send it to cut twice.
For the Neenah 67lb paper and other 65lb papers when on my Explore I cut on Light Cardstock setting. It is just about perfect. (If you are using a different machine, find the setting on your own machine that seems the closest to what this would be.)
Some colors like black and red require the Light Cardstock with More and sometimes I cut it twice – press the C cut button again without removing the mat. Just lift a corner of a cut area to see if it needs to be cut again.
If the cut setting is too deep, some shredding and frustration can happen. It’s better to use a lower setting and cut twice.
BLADES
The fine point blade that comes in your machine. If replacing the blade I have stayed with Cricut brand Premium Fine Point blade. I cut a lot of paper. A Lot. I am on only the 3rd blade since purchasing my Maker in May 2020. They last a long time.
If you think you might need to change your blade… you might need to change your blade.
First, though, check the blade housing- holder thing- to make sure there’s not paper or vinyl or anything else in there jamming things up.
If you need a new blade and you’re not sure which to buy – It’s this one on Amazon:
Cricut Fine Point Blade
Wrapping this up:
These are the settings that work for me. As I said, it’s a starting point. Cut small test cuts in the corner of your paper before committing to cutting the entire sheet. Same for when cutting vinyl.
Lift a corner of where you have cut before removing the mat from the machine. Cut again, if necessary.
When cut correctly, most of the tiny inner pieces should stay on the mat when you take the bigger section off. If you are getting ragged edges or having to pick out all of the smaller pieces, it’s not cutting through. It’s normal to have a few stragglers that you have to push out.
I encourage you to try different papers.
Experiment with your settings.
Use spray paint to make different colors!
HAVE FUN! It’s supposed to be fun.
NOTE: I have included several links on this page. These are NOT affiliate links I don’t receive any compensation when you click on them.


thank-you for the tips. I’m trying to make myb1st. shadow box, and making confetti instead.
I hope these tips will help.
Thank you so much for the extra tips and tricks. I absolutely love your work and your designs produce fantastic results. Your efforts are appreciated.
I’m new at Cricut but I love cutting shadow boxes. Yours. Are especially beautiful. Thanks for all the great inso on your website
What design program do you use to create these beautiful shadow boxes?
I use a combination of programs. The designs are usually drawn using Procreate on my iPad. Then I import it into Photoshop and Adobe Illustrator to create the cutting lines.