Shadowbox templates are a huge part of my business. I love designing them, cutting them and sharing them with you. Yay! and Thank you!
This How-to Video is for you if:
You have purchased the template and need to know what materials to use, or maybe you have cut the layers but now you’re stuck.
Or you need to know if if you’re doing it right.
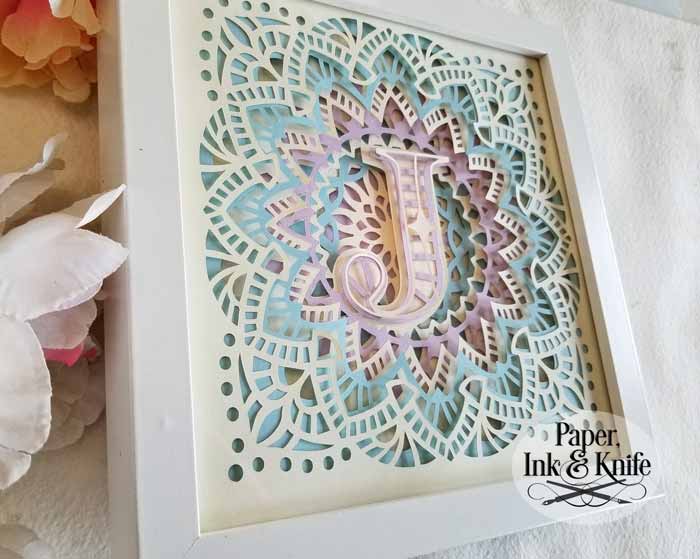
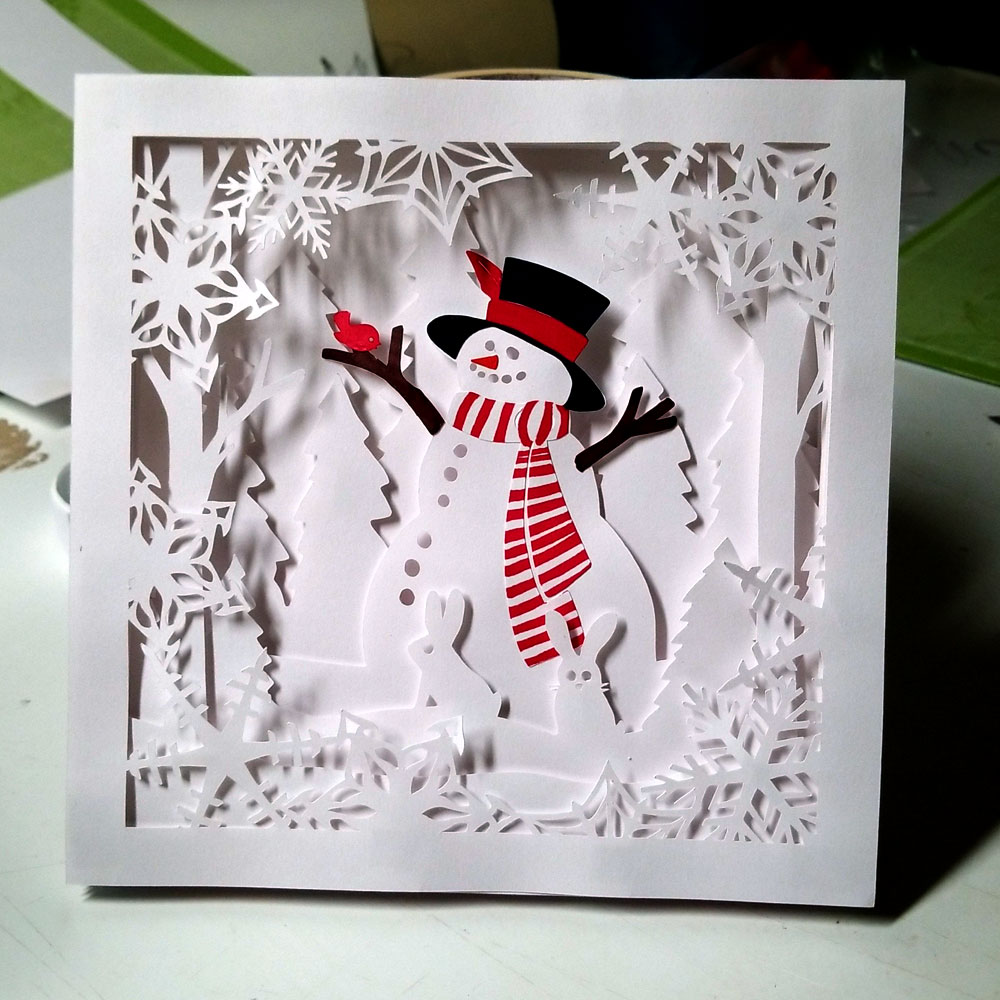
Below are some of my more popular layered shadowbox designs.
I do not add lights to my shadowboxes. The way the layers overlap doesn’t allow for much light to pass through. You may add lights to your project and the results will probably be amazing.


Materials needed: Shadowbox templates available here: Shadowbox Templates
Paper for cutting either with your machine or by hand. Cardstock or other heavy weight paper.
I use 65lb cardstock to cut with a Cricut Maker.
Double sided sticky foam tape. I purchase mine from Dollar Tree. Available on Amazon, Walmart and other stores.
As stated above, I do not typically use lights in my shadowboxes, so I don’t show adding the lights in the video.
If you want to light your box, you can find the fairy lights I have used for many projects, including my lanterns, on Amazon.
Optional battery operated Fairy lights. Link to the ones I use from Amazon.


0 Comments