Oh my word! I am obsessed with these!
Multi-layered paper ornaments are the bomb and super easy to make. I’m not kidding.
They look complicated and hard to do and so intimidating, but in reality they are not. I’m going to break it down here for you so you can make some for yourself.
Let’s start with the heart shape:
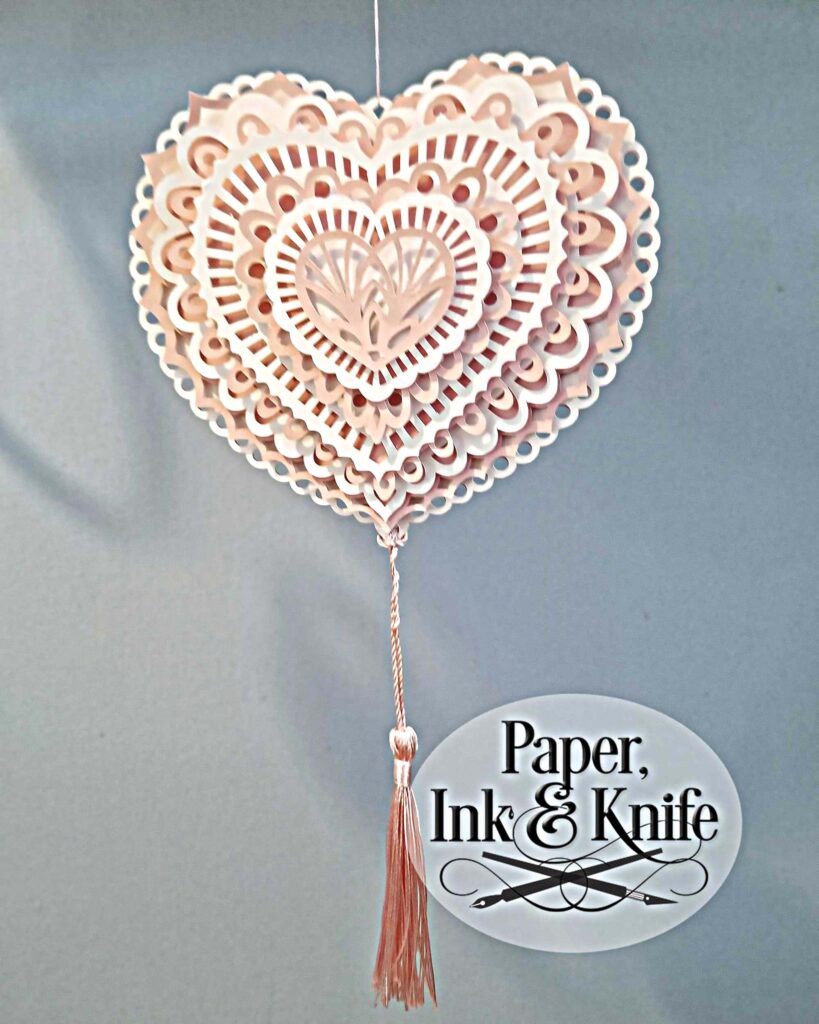
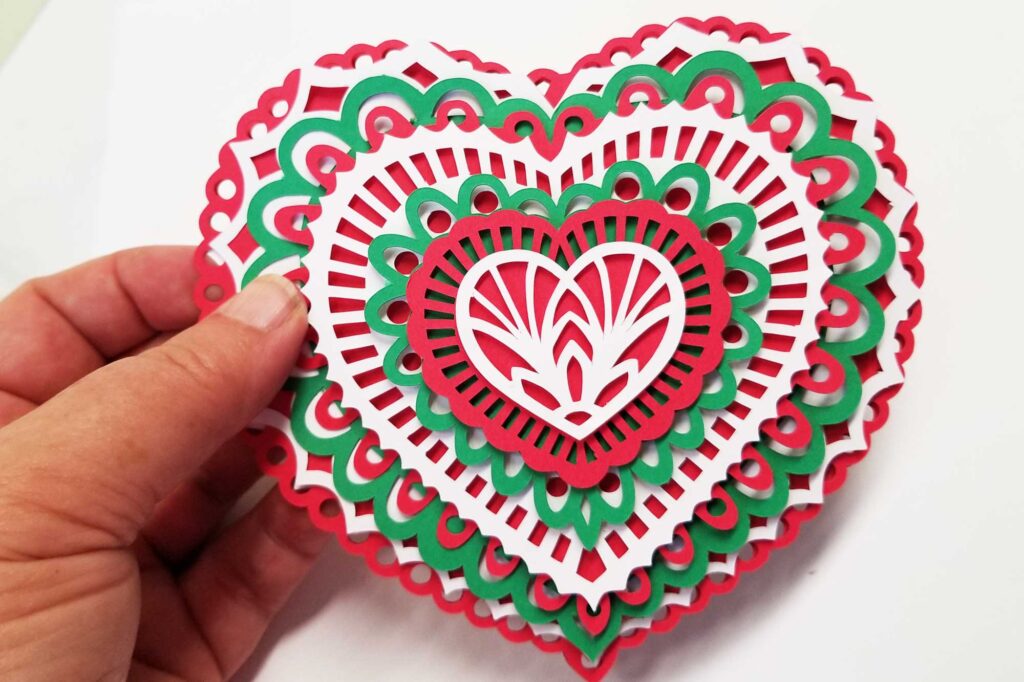
Isn’t it pretty!!!!
First you need a template. Click here to find the template file for this heart. They all go together the same.
You’ll need:
Card Stock: 65 lb is my favorite for machine cutting. Make sure it’s solid core. I have an entire post on papers that I use for intricate cuts. You can find it here.
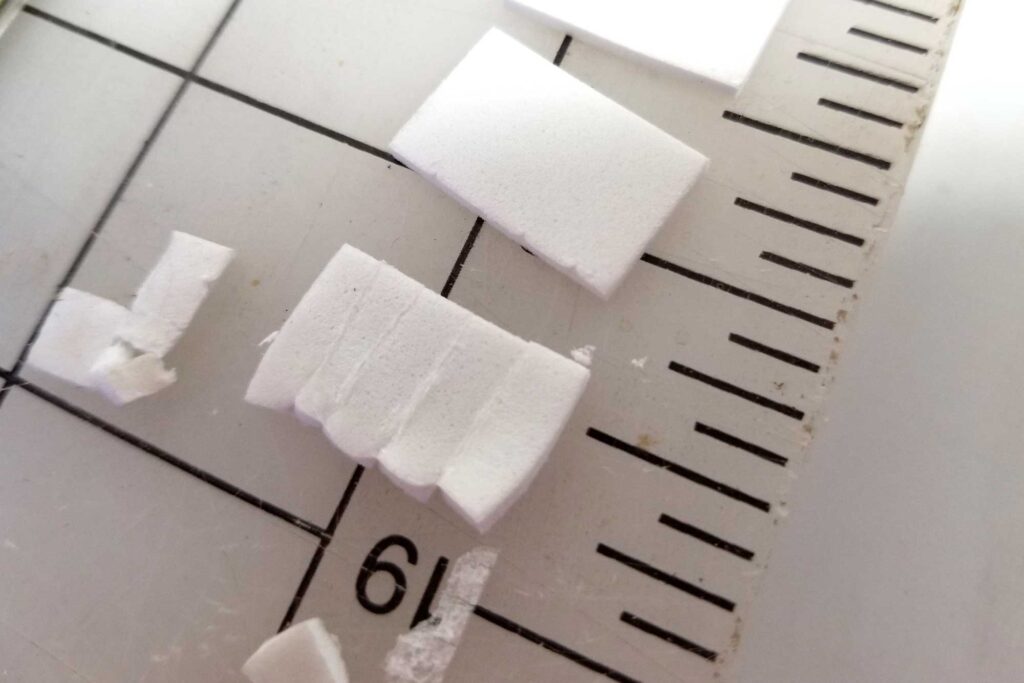
Double sided foam mounting tape: I buy it from Dollar Tree, Amazon or even the grocery store. Look for some that is thicker if you want more depth between the layers.
Craft glue: Sometimes that tiny little final layer is too small for the tape dots. Bearly Art, Ailene’s or your favorite glue pen will do it.
Download and cut with either your machine or by hand.
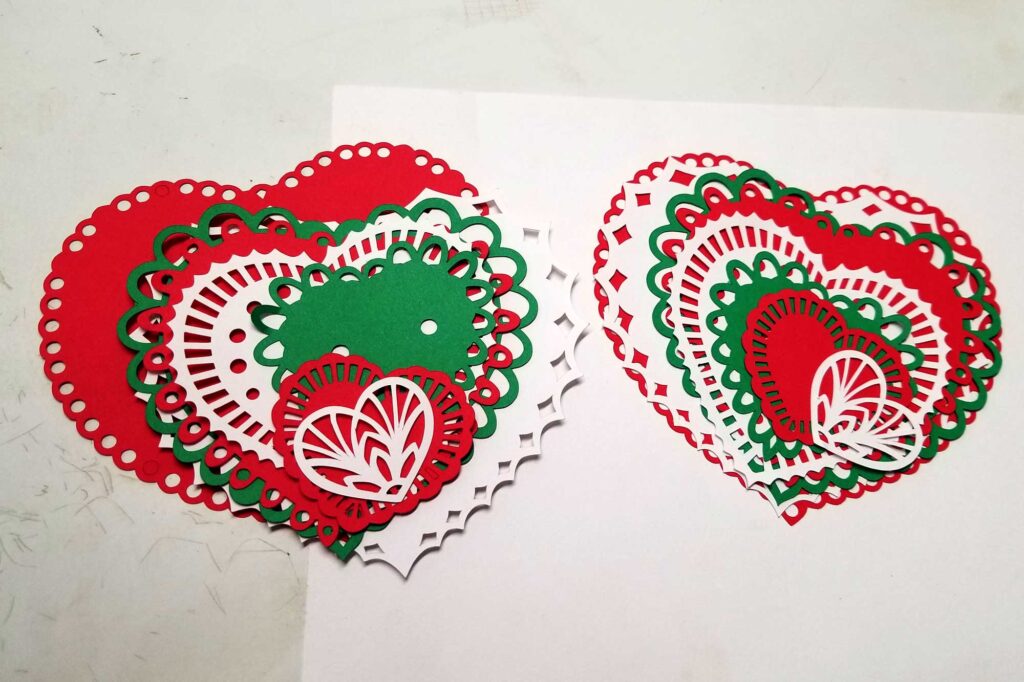
In this tutorial, I’m assuming you have already cut your layers and you are ready to put this pretty baby together.
Let’s do it!
1- PUT THE LAYERS IN ORDER AND IN THE DIRECTION THEY SHOULD GO
All of my ornaments go together the same way. Some have a definite top like this one, some don’t.
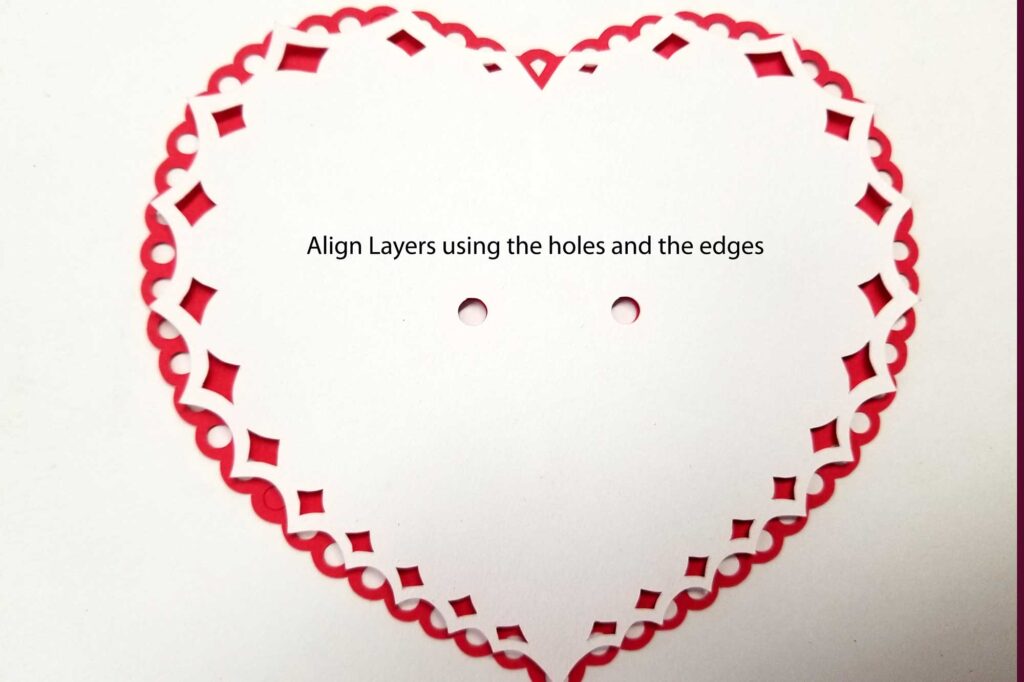
Some have a hole at the top for stringing. Make sure you align your elements so that both sides will line up.
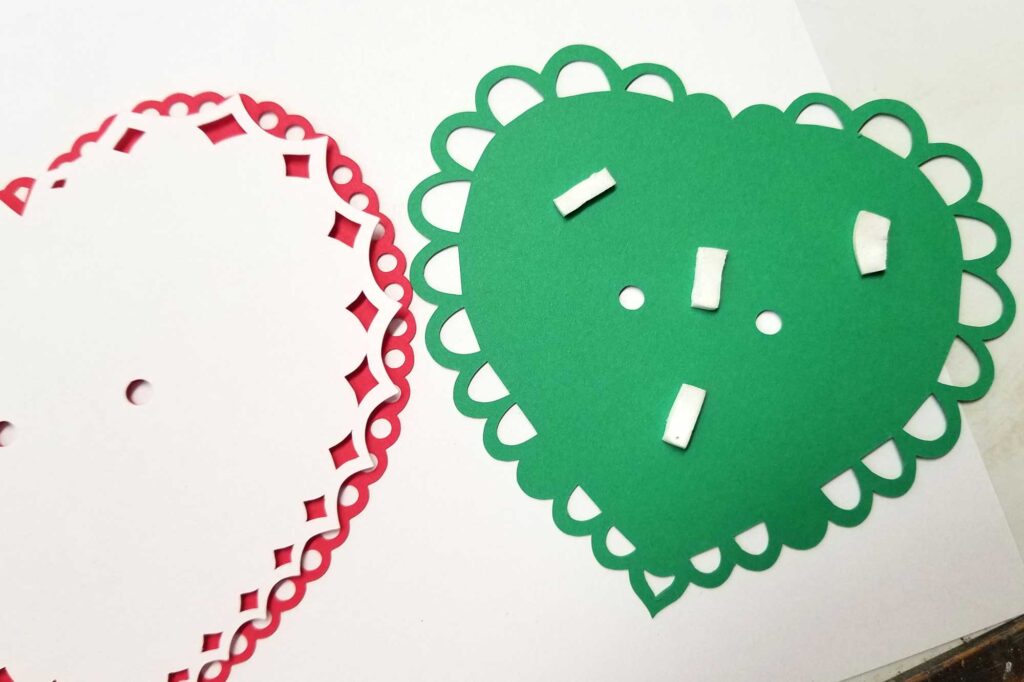
2-Turn the layers over so the biggest layer is on the top.
Flip the biggest bottom layer over (right side up) and set it to the side.
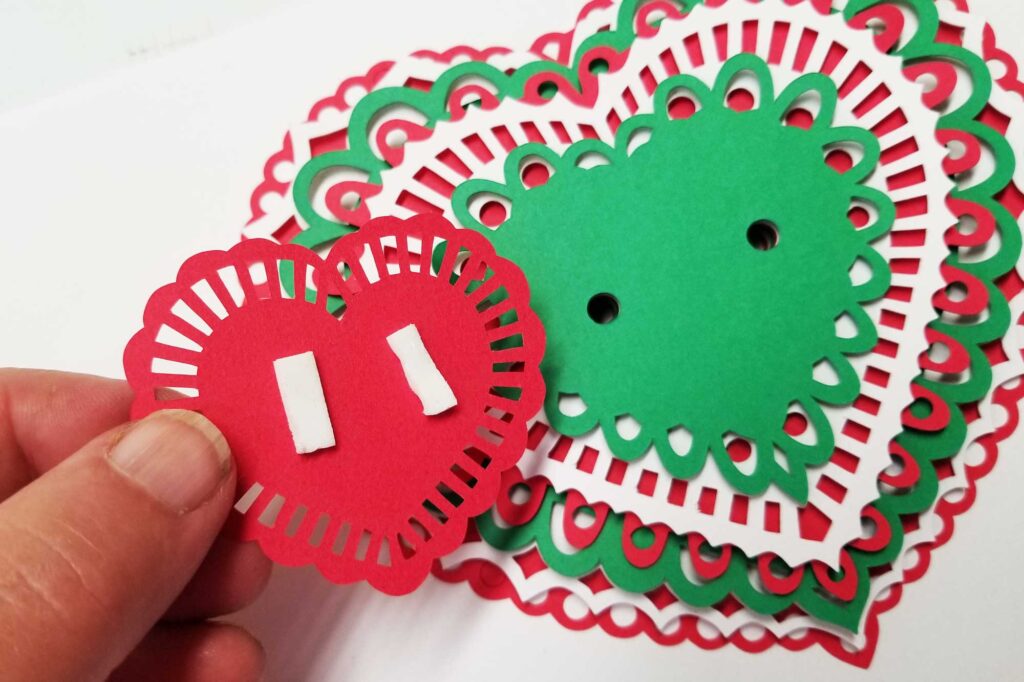
Stick 4 – 5 pieces of tape to the back of the second layer. as in the photo.
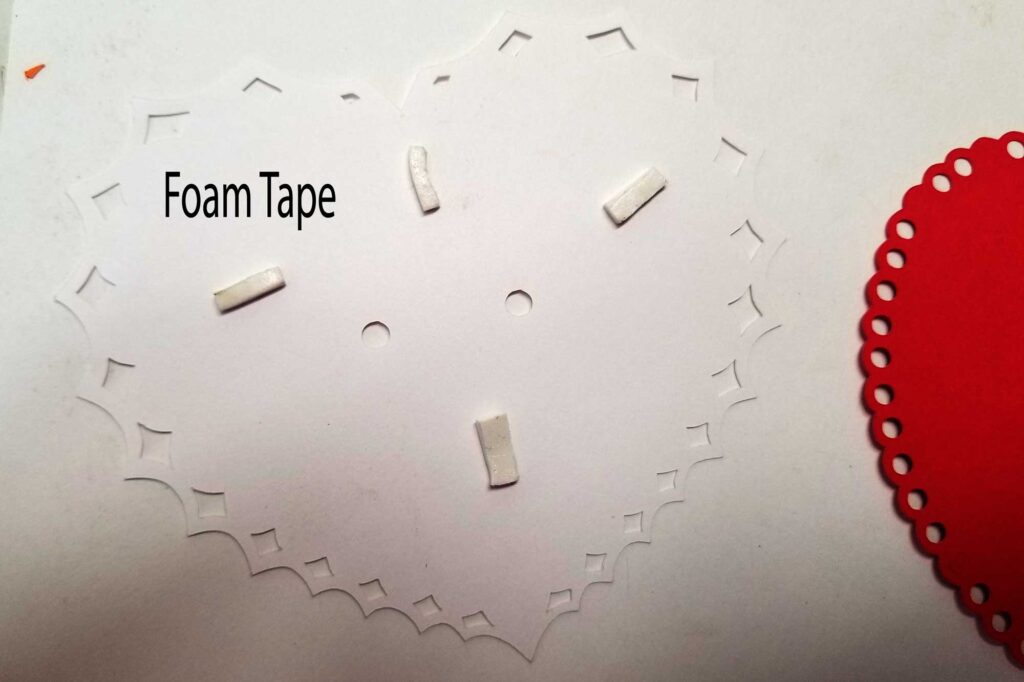
3- Carefully hold the second layer over the bottom layer, align the sides and the center hole(s).
When it’s all aligned, press down and move it to the side.
On to the next layer
And the layer after that…
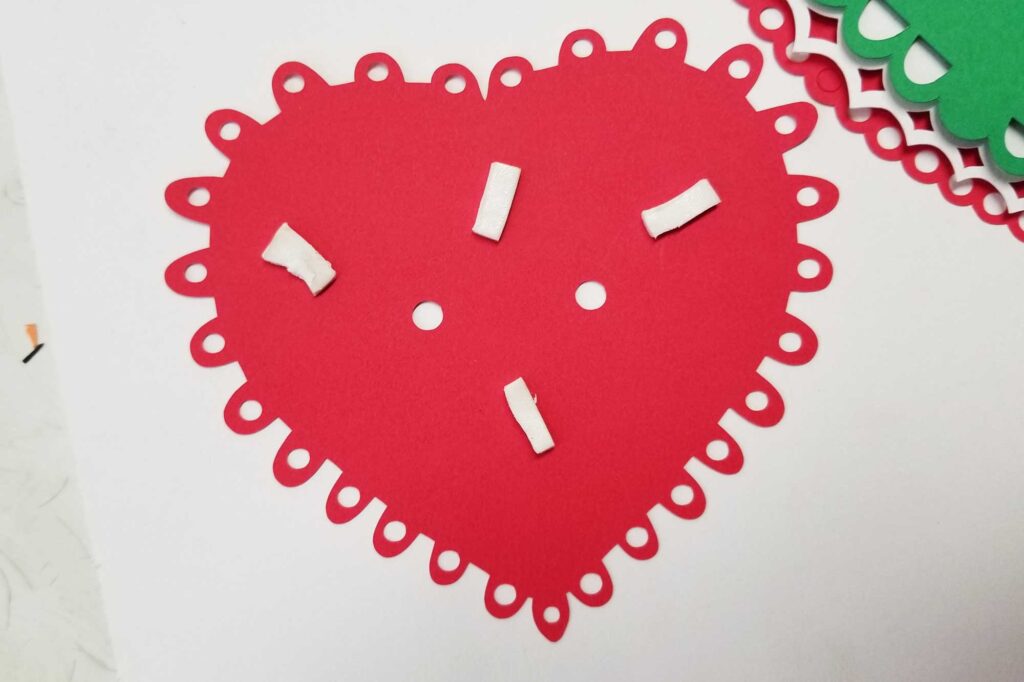
And the next…
And so on and so on…
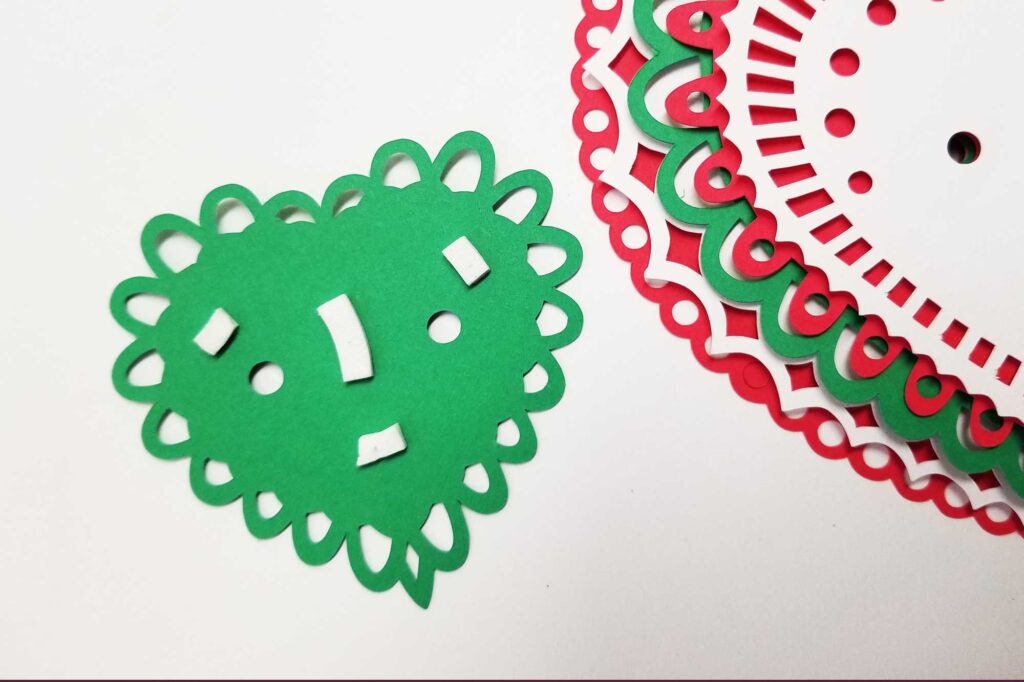
The top layer is usually very small and has skinny little lines. You can use itsy bitsy pieces of tape or simply glue this layer to the one below.
Tip: When gluing this final layer, I have found it easier to glue it to the layer below before taping the layer below to the stack.

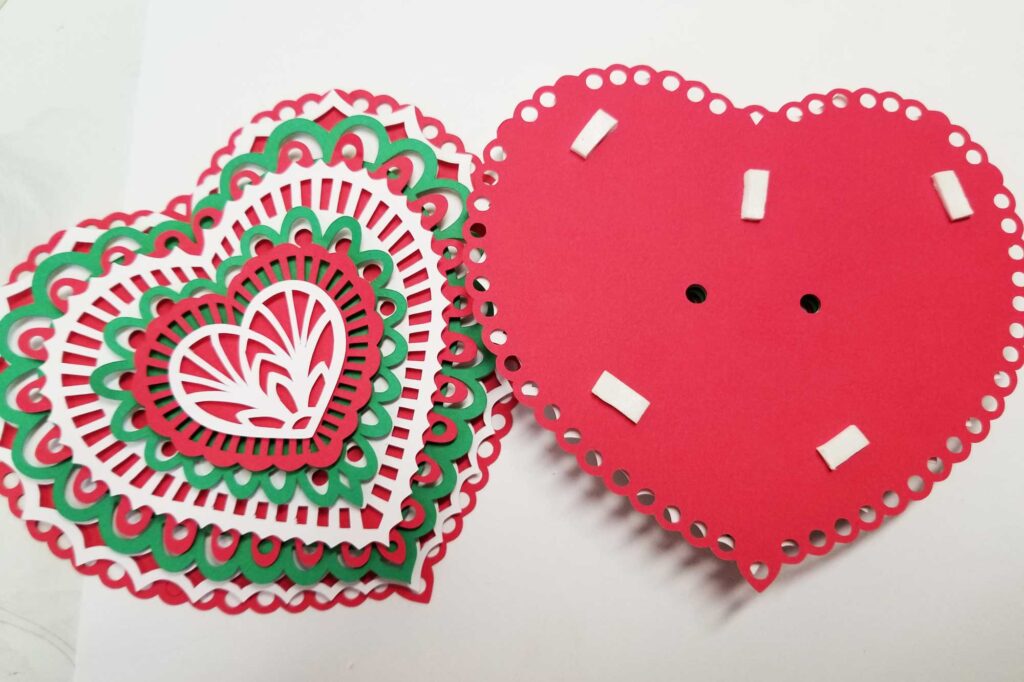
Assemble the second side the same way.
After both sides are completed, put tape on the back of one of the sides – you may opt to use glue for this too.
Then carefully align the holes and scallops and press together.
Using the flat of your hand, press them firmly together.
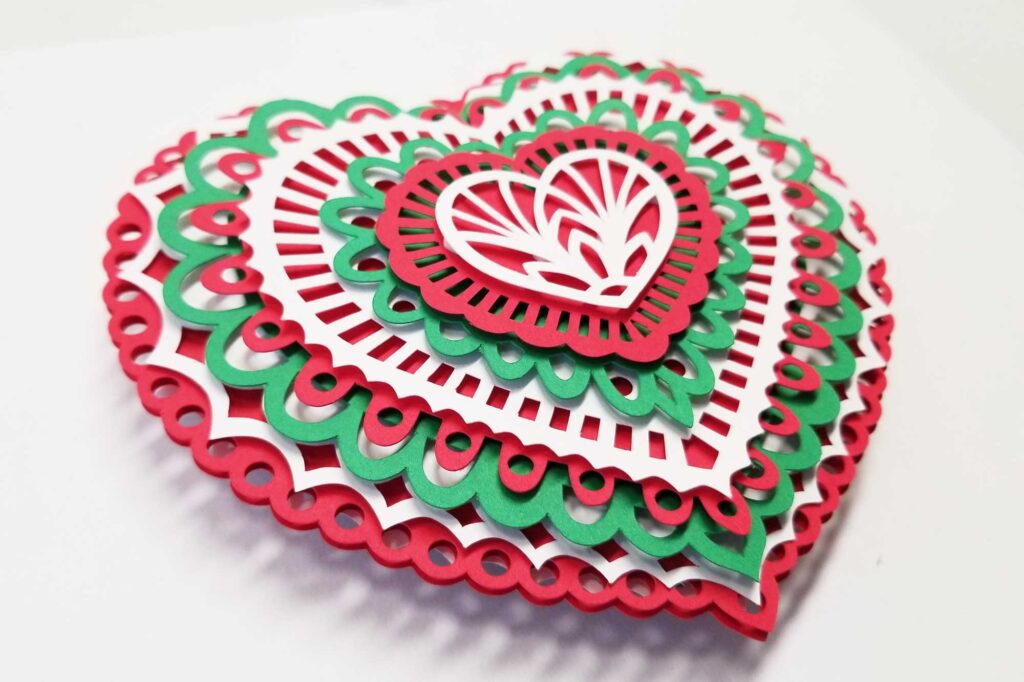
To hang your masterpiece, use thread, a ribbon or string and thread it through the hole at the top.
This ornament is pretty with a tassel on the bottom too.
Thanks for supporting me and my paper obsession. I hope you make a ton of these and have a ton of fun doing it.

0 Comments